

Posted on May 21, 2018 in Building Maintenance
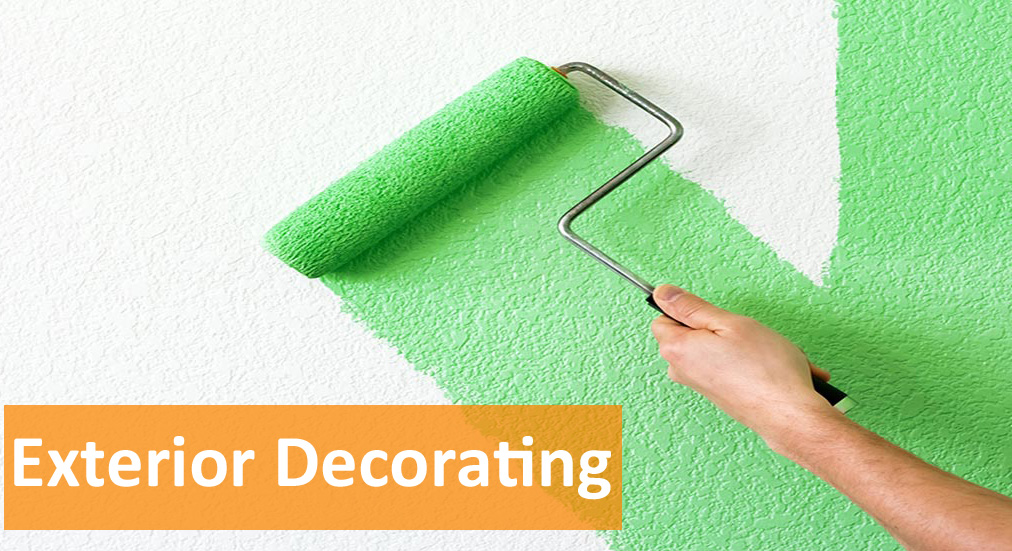
The exterior decorating of your property could be a considerable DIY task depending on the size of your building.
You may literally have a few small details that require painting if you live in an uPVC double-glazed unpainted brick home, or alternatively, re-decoration will be on a much larger scale if your property is rendered with wooden windows, for example.
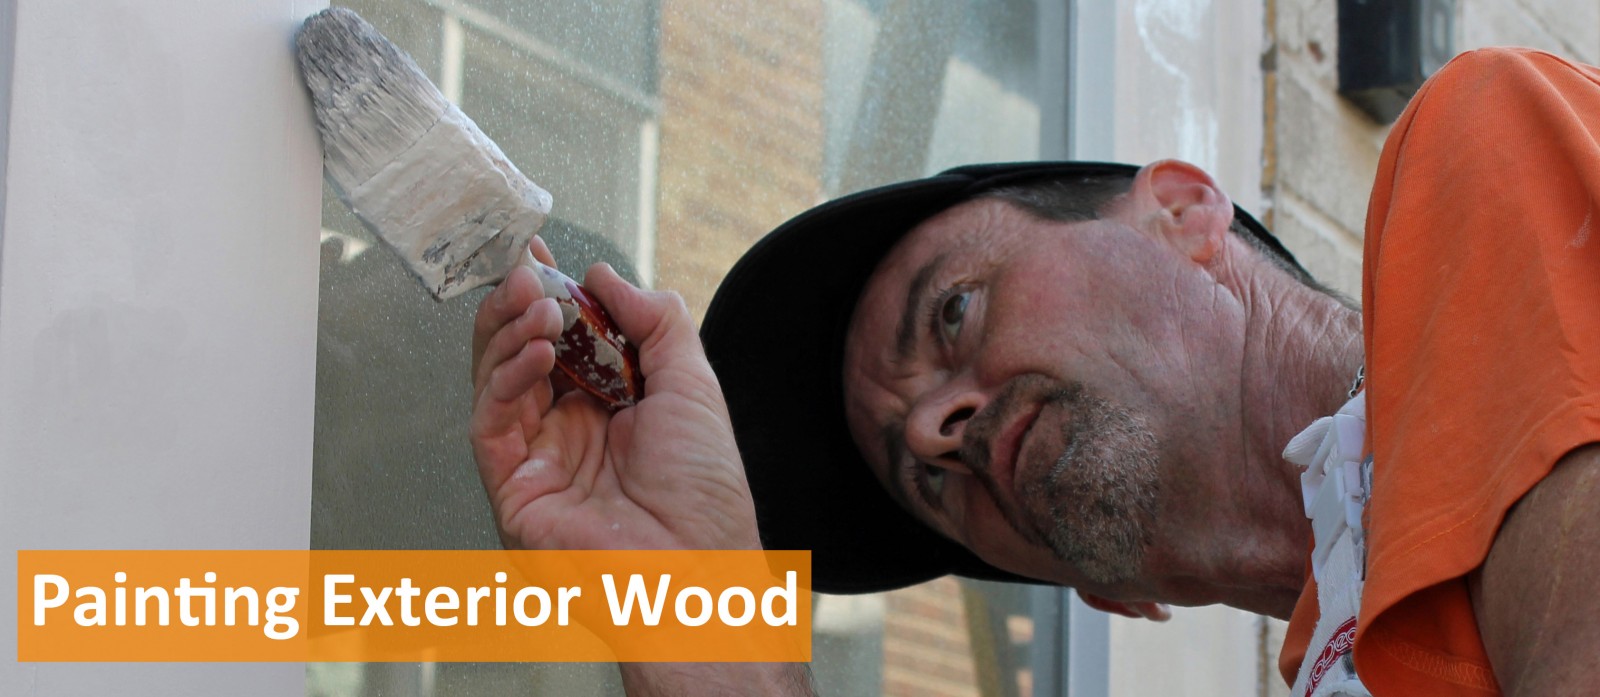
Our list below can be applied to all outside decorating, but it is probably of most interest to those people with lots of wood, and lots of walls to paint! Our guides – ‘Painting exterior walls’ and ‘Painting exterior wood’ are therefore also worth reading before embarking on your project, but the assembled points below provide my top 10 tips for exterior decorating.
Page Contents
1. Safety
Safety is of paramount concern with any DIY project, but outside, where it is likely you will be working at height, take an even closer look at your health and safety plan. Scaffolding or even hiring a cherry picker can be the best option for working at height. Both options cut down decorating time by at least a half, plus you have the extra safety.
2. Gutters
Always repair any leaky gutters when re-decorating the outside of your property.
We recommend you clean out and prepare (if they are to be painted) your gutters before you start paintwork below them. This is really a simple example of the “working from the top down” principle as you clearly don’t want to be unclipping, or disassembling the guttering once surfaces below it have been painted – otherwise they just get covered in dirt and debris.
Also carry out any gutter repairs such as fixing leaking joints with new rubber gaskets, and/or some gutter silicone. Remember that plastic guttering will brighten up a treat if you just wash it down with hot water and detergent, followed by a rinse – if it’s completely faded and needing a new lease of life, either replace with new, or apply two coats of gloss (no primer or undercoat needed).
3. Weather
Everybody knows that paint and rain doesn’t mix, but you also need to think about temperature and humidity. In particular, when temperatures are approaching freezing (depending on paint type, and manufacturer), and definitely when they are below freezing – do not paint outside.
At the other end of the scale, painting in direct sunlight causes the paint to coagulate on your brush, making it extremely difficult to apply evenly, and so try to “follow” the shade around your home when painting. Humidity or excess moisture in the air is another problem, and difficult to judge, but basically if surfaces feel in the slightest bit damp, you really shouldn’t apply any paint.
4. Fungicide
If you are painting the masonry or rendered wall surfaces, it is only on very rare occasions that we would NOT apply a fungicidal wash to the walls before painting. In fact probably the only occasions we don’t treat the walls with fungicide is with a new render that has been allowed to dry out thoroughly, but has not had the chance to be the base for any sort of algal or fungal growth. In our view, too many people skip this vital stage, paint straight over algal growth and two years later the paint system flakes and fails. If you always fungicide and pressure wash off, most exterior masonry systems will last for 10, if not 15 years.
5. Quality paint
Make no mistake, quality exterior paint is expensive, but it is a true false economy to use cheap options. If you use cheap paint inside, you just get a cheap, nasty finish – but if you use cheap paint outside, as well as getting a nasty finish, you are not protecting surfaces from the elements, and therefore you increase the chances of structural damage to wood, masonry, and metal aspects of your home.
We use the Dulux Weathershield Exterior Paint systems pretty much exclusively over the last 25 years and am yet to be disappointed. Even with the problems that oil-based paints have had since the tighter regulations on VOC levels were introduced in 2010, because exterior white gloss is clearly exposed to a lot of sunlight, you do not get the yellowing problems associated with using white oil-based glosses inside.
6. The right tools
Aside from having a good selection of quality brushes, you need to think carefully about the most suitable painting tools, if you have a large amount of wall surface to paint. We tend to champion the 12 in (30cm) medium pile roller for most wall surfaces inside and out, but there are occasions when this tool of choice is no longer suitable. For example, it’s fine for any smooth render or relatively fine tyrolean surfaces, but for rougher texture tyrolean, you will need a long pile roller. Also, for those poor souls who have rough cast render, you need to forget the roller completely, and accept that a good 4-5 inch (10-12.5cm) brush is your only option.
7. Drying times
Most exterior paints dry very quickly, even the oil-based options, but it is still best to paint opening windows as early as possible in the day, so that they can dry out sufficiently before closing at night.
However, this is not the end of the story, as although the paint is “dry”, it will not fully harden for a number of days, and generally weeks. Therefore reopen and close windows as often as possible over the weeks immediately after painting. This will certainly help solve any potential long-term “sticking” issues.
8. Window edges
Edges are the key area when painting windows as this is where they either “stick”, or where the rot begins – normally both. Therefore if your window is “sticking” before you paint it, you can guarantee it will be even “stickier” after a couple of coats of paint. Therefore ease any sticking windows first with a plane, and because this will reveal bare wood, make sure you prime these edges, before applying your undercoat and gloss. Also don’t forget the top edges of opening sections as well as the underside, or bottom edges of opening windows – this is where the damp gets “in”, and so this is where all sorts of problems start.
9. Window sills
A window scraper is the perfect tool for helping clean your windows.
The other area for the rot to set in, is on the window sill. Therefore always give them at least one extra coat of paint than the standard manufacturer recommendation for your paint system. For example, when re-painting windows, our typical procedure would be:
- Prepare window surfaces.
- Patch-prime bare wood.
- Apply one, if not two undercoats.
- Apply gloss.
- Apply second coat of gloss to window sills.
Also, don’t forget the underside of window sills and make sure the drip guard (groove that runs along the length of the window underside) is clear of paint build up and/or algal growth.
10. Clean windows
It never ceases to amaze us when we see a newly painted exterior of a house, and whoever has done it, hasn’t bothered to clean the windows. You see putty smears and paint overspray all over the glass.
Any sort of proprietary window cleaner is all that is needed to clean up the glass, and also use a window scraper to remove all the specks and bits of paint that have somehow found their way onto the glass surface.
As with any DIY project, plan meticulously, try working to a budget and be realistic on estimating paint quantities. Crucially, bear in mind that a standard 2.5 litre tin of paint for your woodwork goes a long, long way, but a standard 5 litre tin or 10 litre tub of masonry paint doesn’t go very far at all, especially on new render or any sort of textured render. Therefore, be guided by the manufacturer’s estimations on paint coverage, and remember that the first coat of masonry paint will always use much more paint than the second.
For information on our painting and decorating services please visit Protech Painting and Decorating Solutions or call one of our friendly team on 0845 604 1288.
Our Guarantee To You
We created the Protech guarantee because we want you to put your trust in our painters and decorators. Under this minimum six month guarantee, if anything goes wrong as a direct result of the work our engineers perform in your home or business, we will return to inspect the problem. If the fault is found to be due to our electrician’s work, we’ll fix the problem with no cost to you.

Categories
- Building Maintenance
- Cleaning
- Electrical
- Gardening
- General Info
- Our Service
- Pest
- Security
- Uncategorized
- Waste Solutions
Archive
- April 2024
- March 2024
- February 2024
- January 2024
- December 2023
- November 2023
- August 2023
- April 2023
- February 2023
- January 2023
- December 2022
- November 2022
- October 2022
- September 2022
- August 2022
- July 2022
- June 2022
- May 2022
- April 2022
- March 2022
- February 2022
- January 2022
- December 2021
- October 2021
- September 2021
- August 2021
- July 2021
- June 2021
- May 2021
- April 2021
- March 2021
- February 2021
- January 2021
- December 2020
- November 2020
- October 2020
- September 2020
- August 2020
- July 2020
- June 2020
- May 2020
- April 2020
- March 2020
- February 2020
- January 2020
- December 2019
- November 2019
- October 2019
- September 2019
- August 2019
- July 2019
- June 2019
- May 2019
- April 2019
- March 2019
- February 2019
- January 2019
- December 2018
- November 2018
- October 2018
- September 2018
- August 2018
- July 2018
- June 2018
- May 2018
- April 2018
- March 2018
- February 2018
- January 2018
- December 2017
- November 2017
- October 2017
- September 2017
- August 2017
- July 2017
- June 2017
- May 2017
- April 2017
- March 2017
- February 2017
- January 2017
- December 2016
- November 2016
- October 2016
- September 2016
- August 2016
- July 2016
- June 2016
- May 2016
- April 2016
- March 2016
- February 2016
- January 2016
- December 2015
- November 2015
- October 2015
- September 2015
- August 2015
- July 2015
- June 2015
- May 2015
- April 2015
- March 2015
- February 2015
- January 2015
- October 2014
- May 2013
- April 2013
- November 2011
- September 2011
- June 2011
- January 2011
- December 2010
- November 2010